Showing posts with label 40k Modeling. Show all posts

Tuesday, August 30, 2016

Russ Punisher/Executioner Turret Magnetized

I stopped procrastinating and magnetized the turret for my Leman Russ Punisher/Executioner.  Now I can swap the Punisher's ammo bins and gatling cannon out with the Executioner's heat vents and its plasma cannon (once I get a loose plasma cannon, that is).
Magnets on the turret bustle.
With the gun mantlet magnetized, I can magnetize any compatible gun and swap it out when I need to.
My next project will be another one I've put off for months: turn this Reaper Miniatures "Colossal Skeleton" into a C'tan Shard for the Lahkers Dynasty.

Wednesday, August 10, 2016

Tempestus Scions Finished

This squad of Militarum Tempestus Scions was a gift from a friend.  They are done, painted up in the colors of the Psian Jackals, a Scion regiment that specializes in fighting Eldar.  Their homeworld was conquered by Eldar, and they have held a collective grudge against the space elves ever since.
 The bases were made with a mix of rough and fine model railroad ballast and cut-up bits of spare sprue.  The sprue bits I superglued on first, and then spread Elmer's glue on the base and poured the ballast mix over the bases.
I primed the Scions black, and then slowly worked up to lighter colors in layers with Vallejo Game Color paints.  For the subtle lighting on the black armor plates, I mixed black with gray and a touch of blue, adding more gray in the later layers.  I used the same method for the other colors: dark first layer, light second layer.  This method is more exact than painting flats and washes, but it takes a while, even on a 5-man squad.  I use it on my "star" miniatures.  The regular line troops get the quick-and-dirty painting method.
Can't wait to field these guys, especially against my friend's Eldar army.
Las-man #1.
Las-man #2.
Plasma gunner.
Hot-shot volley gun trooper.
Tempestor (fancy sergeant).

Thursday, January 7, 2016

It's 2016!


Happy belated New Year, Necrons, Imperials, xenos, and other assorted life-forms!  This year I aim to finish painting the Lahker army, start an Imperial Guard Armoured Company (I hope, at least), and give my lonely Space Marines some attention as well.  I also want to streamline my painting process, eventually put up a "how I paint" post, and learn the ways of the airbrush.

Stay tuned, new posts coming soon.

Saturday, November 21, 2015

Workbench #5: Foam-Board Barricade


Finally rearranged my workspace so it's 1) cleaner, 2) higher (don't have to hunch over), 3) brighter, thanks to a new lamp, and 4) larger, so it's not quite so cramped.  And after that, I decided to just sit down, build a barricade, and, of all the things to do, have fun.


I am very pleased with it.  It's a nice way to add some variety to the battlefield without needing to plunk down a whole hill.  Plus, Guardsmen really need that cover save.

Tuesday, October 13, 2015

"We Commit Thee to the Simple Green..."


It's been fun, but the Tomb Blades need a new coat of paint.  Totally new.  I have frankly been dissatisfied to various degrees with their current paint job for a long time (they were the alpha test models for my airbrush), and their yellow paint scheme also breaks up the "line troops colorful, sneaky and speedy things grey camo" theme I blundered into, er, planned in painting the Lahkers.

I've made the decision to fully paint the Lahkers.  Not just a full coat of paint, but painted, washed, highlighted, based, the whole nine yards.  This is just one step on the glorious road to fielding a fully painted army at the FLGS.  (And winning with it, of course.)

Monday, August 17, 2015

Workbench #4.1: Painting Lychguard/Praetorians


Been busy painting up the Lychguard and Praetorians the last few days, they're turning out great.  I'm also building and painting a few more lords, overlords, and the custom Cryptek as well.  And the gauss blasters you see there are for the Immortals in the back.  They used to be my tesla Immortals, but since I have literally used tesla only once or twice since the dawn of 7E, I'm switching them to gauss blasters.  Effective, WYSIWYG-accurate, and way cooler.


Plus working on these guys was the perfect excuse to buy more paints.  I'm a recent convert to the Game Color line, for its nifty eyedropper caps and for the quality of its paint.  It flows really well straight out of the bottle, it settles into crevices well, and it's not so fluid it just goes everywhere.  (Like, say, super-thin superglue.  Boy, have I learned my lesson there.)


Detail on the rearmed Immortal and a Warrior who has been my guinea pig for a standardized painting method test.  It has been very successful, I'm planning to do a how-I-paint post in the near future.


More second-hand Destroyers, because I'm irrecoverably addicted to plastic crack you can never have enough Destroyers.  Looking forward to fielding a full-strength Destroyer Cult with these dudes.


Working on the Venerable Dread my pal Ike gifted to me, and my "come-on-and-slam" Pariah-turned-overlord model.


Hopefully all these guys will be fully painted and up in batreps soon.

Tuesday, July 21, 2015

Workbench #4: Elite Reinforcements


In the last month I've been able to buff up my elites and HQ sections.  I found a squad of secondhand Praetorians and Lychguard to complement the squad of Lychguard I bought to magnetize.  And the secondhand Lychguard came with a Lord and two Overlords.


Yeah, that was a deal, all right.  The guy on the near right is a custom Cryptek I bashed together last night.


The Lychguard have already had their first game, in which it took nearly 1750 points of Dark Eldar all six game turns to wear them down and kill them.  I can't wait to get them all painted up and really ready for action.


Monday, June 8, 2015

Airbrush Addiction


It's real, it's wonderful, and the only downside is my wallet potentially taking a hit so I can paint more models!  MORE!

Uh, anyway.  Working on painting up my Marines now.


Saturday, May 23, 2015

Workbench #3: Doom Scythe, Part 2


Again we return to the construction and painting of the Doom Scythe!  In this episode, I get off my rear and conquer my fear of screwing up with the airbrush.

So, the plan was to complement the gray/white camo on the wings with a dramatic royal purple carapace, with yellow and orange trim.  This meant masking off those edges, which at 2/16 of an inch wide, took almost an hour.

My airbrush is a Badger single-action external-mix kit.  This was only my second time using it, I first used it to basecoat my Tomb Blades.  Needless to say, I was and am a total airbrushing noob.  The first coat on the Scythe was pale and spattery (but not thick, I learned that the first time around).  I let it dry and put the second coat on, leading to this:


Better, but not as smooth as I wanted.  I topped the paint jar up to half full, and gave it a third coat.


Oh yeah!  Light-years better than before.


I finished up the carapace sections, let it dry, put a little white paint in my mix, and laid a light-purple gradient down on the front of the carapace.

Here's the whole model so far.  Lesson learned: paint jar half to three-quarters full.  Next time I'll get into the details and weapons of the Doom Scythe.


Sunday, May 10, 2015

Workbench #2: Doom Scythe, Part 1


Greetings, subjects!  Today we go over the beginning stages of constructing the Doom Scythe/Night Scythe kit.  It's not a complicated kit, and it needs no magnetization, so you can swap out the death ray and the wormhole aperture whenever you want. 


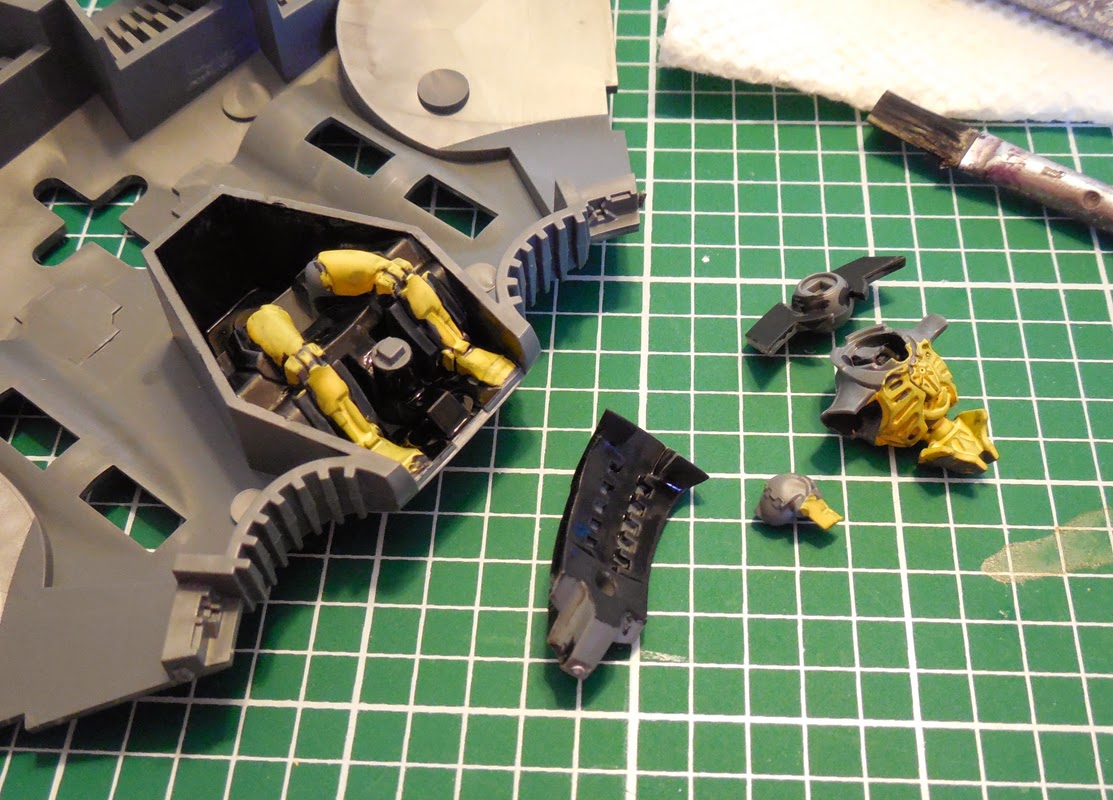
The cockpit is the most complicated part to build on the Doom Scythe.  The pilot and instrument panel are the detailed bits, the interior of the cockpit is plain no-greebles plastic.  Black, dark gray, any neutral color is good for the interior.

Don't forget to paint the cockpit section of the carapace.

Progress painting and assembling the pilot...

Pilot finished, weathering courtesy of silver drybrushing.


...and that's the toughest part over with.  From here on, assembly is "glue this here, here, and here".  Leave the guns off and paint them separately.


The outer carapace piece you can leave unglued up to the very end.  It sits snugly on top of the model, you can keep it on and remove it as needed for basing/painting/etc.


And there's the Doom Scythe basecoated and (almost) fully assembled!  Tune in next time for the fully painted model.


Tuesday, February 24, 2015

Workbench #1: Wraiths


I recently got two more Canoptek Wraiths, slightly used, bringing my Wraith squad to almost full strength.  One came without the front arms, so I scrabbled through my bits box and came up with a pair of impromptu weapons.


I took the claws, whip coils, and side panels for the gauss blaster, slapped 'em together with Squadron green putty, and bingo!  Poor man's Wraith arms.


I weighted the bases with hexagonal nuts each, smothered in putty.  Not the prettiest solution, but the Wraiths shouldn't be quite as top-heavy.

Support was provided by man's best friend, coffee.


Some extra silliness.

Lord Rynkelyh attempts to add more dakka to his Barge.

"Shoulder-mounted fifty cal!  Now we're talking!"